

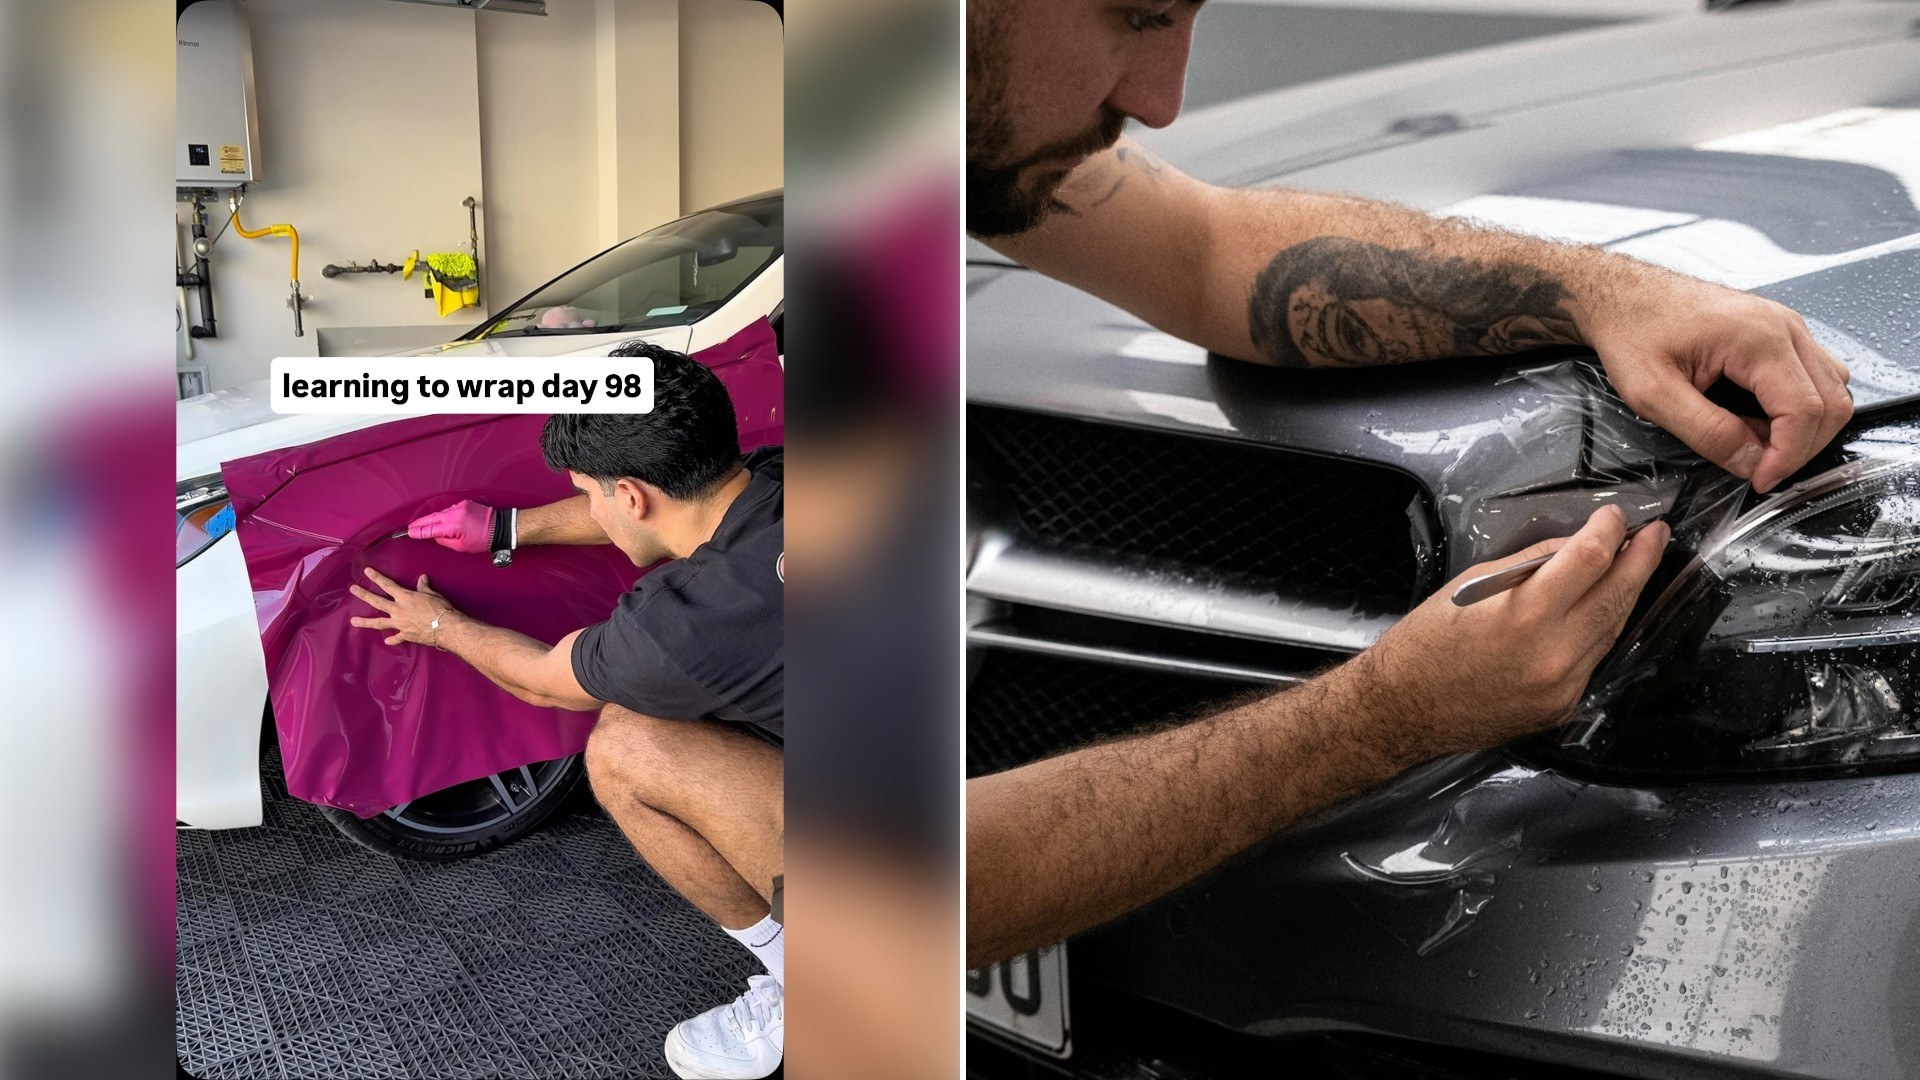
Ninety-eight days into learning to wrap cars, one garage wrapper took on the front fender of a white Mercedes and fit the whole job, from opening the box to the finished panel, into about a minute of video.
The reel from @rookie.garage carries one line of on-screen text, “learning to wrap day 98,” and no narration. Music plays while he works in a garage, and nobody else appears on camera. According to the post’s caption, the car is a Mercedes E550 and the material is PPF, or paint protection film, in a color called Dark Star Ruby. On camera it reads as a deep, glossy magenta.
The clip begins with the roll. He stands in front of the white Mercedes, pulls a large roll of film out of a box marked COLOR and sets it on the floor. There is no roll stand in the shot. In its place, an orange Daytona 3 ton low profile floor jack is put to work holding the base of the roll.
Before any film touches the car, he preps the area around it. Blue painter’s tape goes along the edge of the headlight and along the seams of the driver-side front fender, which protects the panels next to the one he is about to cut on. Then he pulls a pink wrap glove onto his right hand.
Next comes the film. He rolls it out across the fender, cuts the piece he needs from the roll with a utility knife, peels away the backing paper and tacks the film to the panel. Then he kneels beside the wheel and pulls. He stretches the film across the curve of the fender until the wrinkles and creases are gone and the surface lies flat and smooth. Installers call that step glassing.
With the film sitting where he wants it, he picks up a squeegee with a soft buffer edge and presses the film firmly into the body line and around the contour of the wheel arch. The excess around the wheel opening is trimmed away. He then cuts carefully along the door gap and the headlight seam, and the blue tape comes off.
The last edges are the ones nobody sees. He lifts the hood to reach the inner edge of the fender, then trims and tucks the film along the inner lip. He does the same at the bottom of the panel near the rocker, tucking the lower section, cutting a final strip and pulling the waste away.
The closing shots pan across the finished fender. It is glossy, the edges are clean, the surface is smooth, and the garage lights reflect in it. Against the white of the rest of the car, the one magenta panel is hard to miss.
The reel leaves some things out. He does not say how long the fender took in real time, what the film cost or how many attempts came before this one. No mistakes are shown or mentioned. What viewers get is the order of operations and a look at the result.
The material deserves a note, because the on-screen text says “wrap” while the caption says PPF. A standard vinyl wrap is a thin film used to change a car’s color. Paint protection film is a thicker urethane film made to shield paint from stone chips and scuffs, and for years it was sold mainly as a clear layer. Color PPF does both jobs with one product. The steps look the same on camera, but anyone pricing a roll for their own car should know which of the two they are looking at, because the two products are not priced or handled the same way.
For anyone thinking about learning the same skill, the reel doubles as a checklist.
Start with one panel. A front fender is small enough to cover with a single piece, and it still includes a curve, a body line, a wheel arch and four different edges: headlight, door gap, hood line and rocker. It is also a panel where a failed attempt costs one piece of film, not a whole roll.
Protect what you are not covering. The tape went on before the knife came out. A blade that slips along a seam meets tape before it meets paint or a headlight lens.
Use what is already in the garage. A floor jack is not a wrap tool, but in this reel it does the job of holding the base of a large roll while he pulls film off it.
Follow his sequence. Tack the film, glass it out, then squeegee. Work the body line and the arch before you trim anything. Trim first, tuck second. Cutting early leaves no extra material to pull on if a wrinkle shows up later.
Open the hood. The edge of a fender continues underneath it, and film that stops at the visible line leaves the old color showing whenever the hood is raised. Tucking film around the inner lip, as he does here, is what makes a panel look finished from every angle.
Count your days. The number in the overlay is the most useful detail in the video for a beginner. He is 98 days in, the panel looks clean, and he still calls it “learning to wrap.” A first attempt will not look like this, and his own count shows how much practice sits between a first try and a fender like this one.