

Plenty of us grew up washing the family car in the driveway with a bucket, a sponge and a bar of dish soap. It felt like the right way to do it, and it got the dirt off. But professional detailers say there is a better order of operations, and they can explain why. @timelesscardetailing_, a detailer working out of the Roseville area, walked through his full process on a repeat client’s car, and the steps are simple enough for anyone to follow at home.
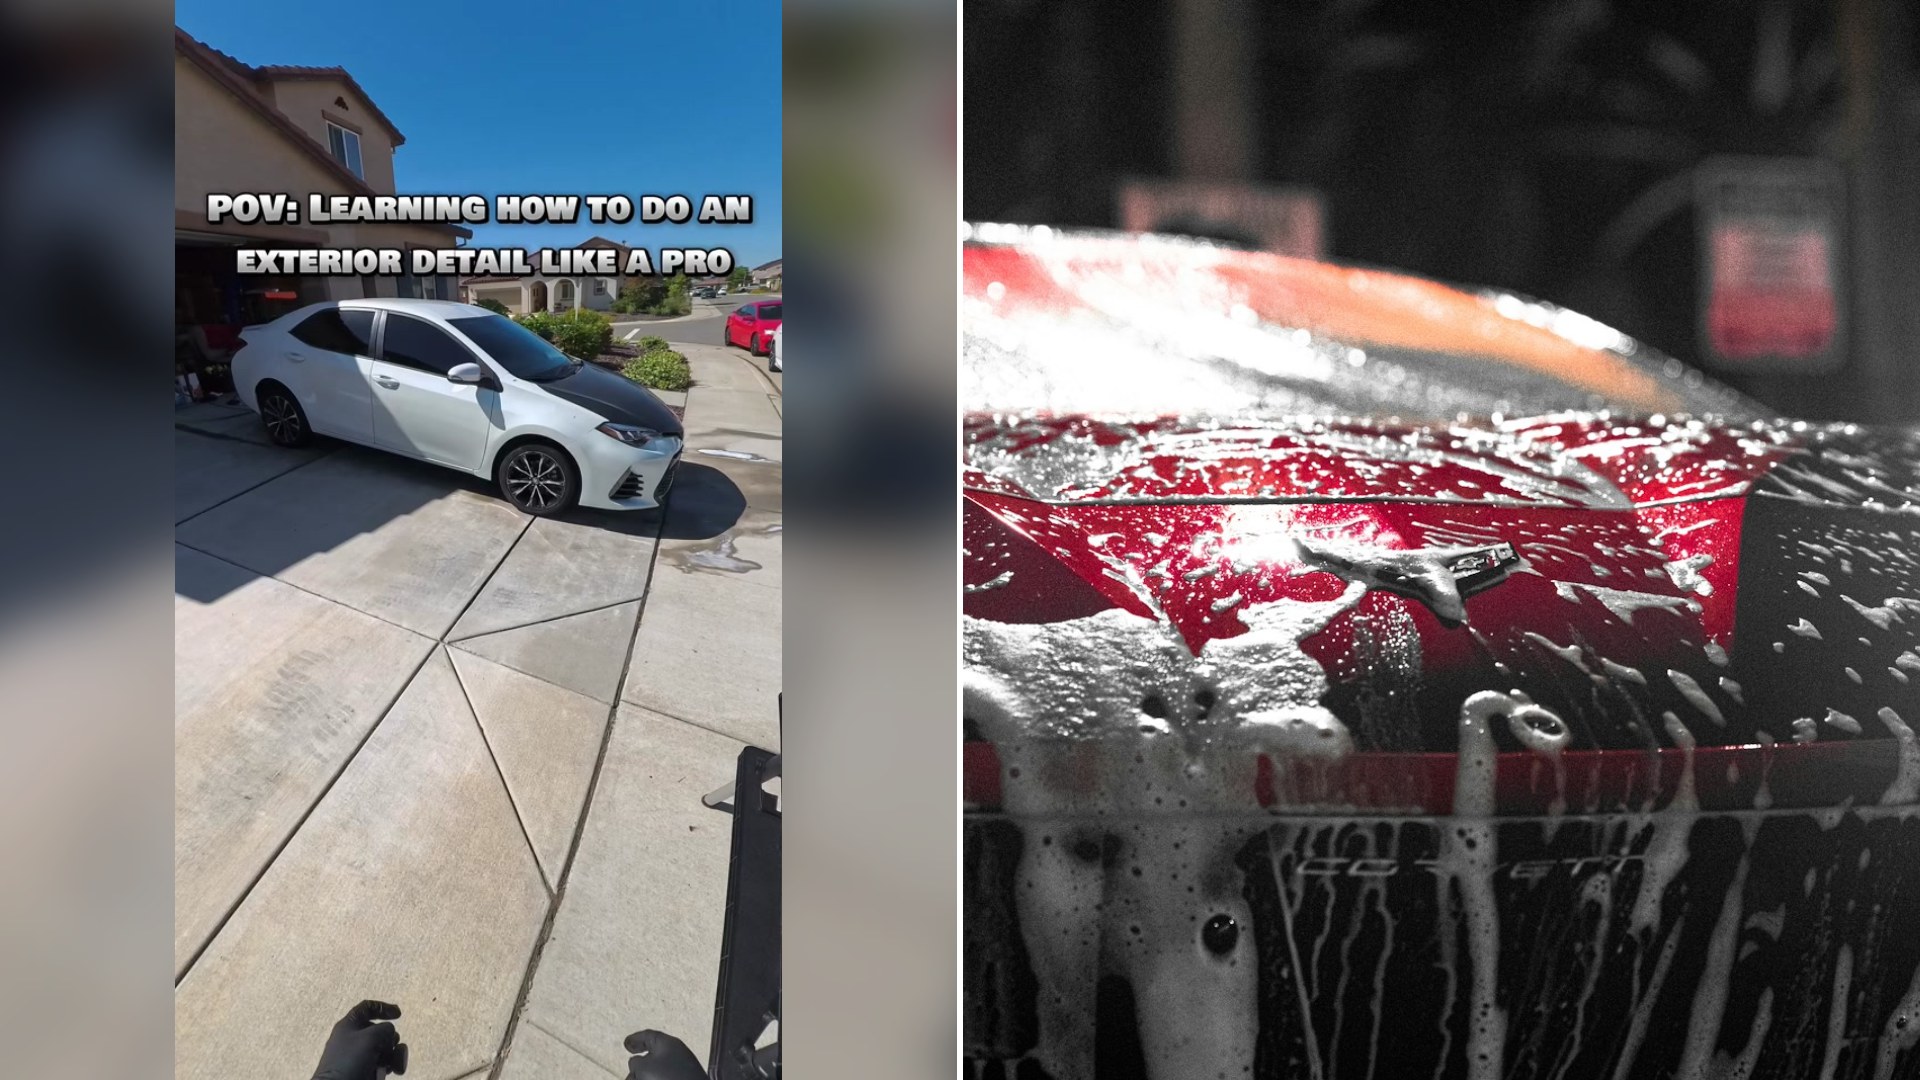
He opens by saying the client only wanted a basic wash, so he would show exactly how he handles one. His caption pokes a little fun at drivers who skip all this and head straight for the automatic car wash. Here is the process as he laid it out, in order.
@timelesscardetailing_
Start with the wheels, not the paint
His first rule is that wheels always come first. They are the dirtiest part of the car, and he says anyone who tells you to do them last is simply wrong. The logic is easy to picture. If you rinse your wheels after the body is clean, you are spraying brake dust and road dirt right back onto the paint you just finished.
He begins with a quick spray of an all purpose cleaner to grab surface dirt, then rinses it off. For the fender wells, especially the carpeted style, he suggests a turbo nozzle from a home improvement store along with some all purpose cleaner. Then comes a dedicated wheel and tire cleaner, which he uses diluted one to one, sprayed over the wheel, the brake caliper and inside the wheel well.
He works from the inside out. That means the barrel of the wheel first, then the spokes and lug nuts, and the tire last. A soft bristle brush handles the face of the wheel, and a lug nut brush gets into every single nut and around the logo. Tight spots get a second pass, and the tire gets more cleaner and a good scrub. He adds a quick note that tire blooming, the brownish film on rubber, is actually a sign the tires are doing their job, and says that deserves its own explanation another day.
The pre wash is the step most people skip
Next comes what he calls one of the most important steps in a proper wash, the pre wash. He fills a foam cannon with a pre wash product diluted about one to ten and covers the whole car. The foam goes to work on road grime, bugs and other organic material, which leaves the paint safer for the contact wash that follows.
He lets it dwell as long as he can, with one firm condition. Never let a chemical dry on the paint, because that can damage the finish. He also asks other detailers whether they rinse the pre wash from the bottom up or the top down, a debate that obviously has no single answer in the trade.
Contact wash without the swirls
After rinsing, he sprays a pH neutral soap over the car and uses a soft brush on the badges and grille. Then he uses a plush wash media to do the paint. He is strict about technique. Move in straight lines, never in circles, since swirling motions are what put swirl marks in the clear coat. Flip the wash media as you go, work between the panels, and re-dip it in the bucket often so any grit gets rinsed out instead of dragged across the paint.
Protection is what separates a detail from a drive through
This is where he makes the point behind the whole demonstration. Protecting the paint, he says, is what separates what he does from the car wash down the street. He applies a diluted protector wax, about one to thirty, over the paint and wheels, lets it sit for two to three minutes, and rinses it off. The water beads up, which is the hydrophobic effect he is after. Depending on where you live and how much you drive, he says it should protect the car for at least one to three months. He even claims it works better than some ceramic coatings, which is his opinion rather than a lab result.
Drying is where scratches sneak in
Many people do not realize you can still scratch a car while drying it with a microfiber towel. His fix is a drying aid, a light spray on the towel and the car that adds lubrication and seals in the work he just did. He then pulls the water off with a drying towel and uses a blower to chase water out of the cracks and crevices where it likes to hide.
The details come last. He opens the trunk and doors and wipes the jambs, uses a quick detailer on anything missed, and finishes with tire shine once the wheels are dry.
How to copy this at home without buying a shop full of gear
You do not need a professional setup to borrow the best ideas. A few habits matter more than any product.
Use two buckets if you can, one with soap and one with plain rinse water, so you are not putting dirt back on the car. Keep a separate set of brushes and mitts for the wheels, and never use the same mitt on wheels and paint. Wash in the shade, or early in the morning, so soap and water do not dry on the surface. Pick a car soap made for paint, because dish soap strips wax and sealants.
If you do not own a foam cannon, you can still pre rinse thoroughly with a hose, then wash from the top down with plenty of soap. Use clean, soft microfiber towels, and wash them separately from your regular laundry without fabric softener, which clogs the fibers.
Finally, a layer of wax or sealant every few months does more for your paint than another coat of effort at the end. Products differ, so read the directions on whatever you choose.
The takeaway from @timelesscardetailing_ is that a good wash is mostly about the order of the steps and the patience to do them. Wheels first, pre wash second, gentle contact wash third, protection and careful drying last. It takes longer than a drive through, but your paint will thank you for years.