
Nothing sours a restoration like watching fresh paint curl up and fall off the metal you just coated. That is the nightmare the crew at UPbuild Garage lived through in the engine bay of their Jaguar project, and the whole engine bay had to go back to bare steel.
The cause turned out to be something no amount of elbow grease could have fixed. The supplier had handed over the wrong hardener for the primer.
“What A Flipping Disaster” As Every Loose Flake Of Paint Had To Come Off
The first job was scraping away all the loose paint. Then, in the builder’s words, “the entire engine bay had to go back to bare metal again.” Any patch that stayed stuck might hide a weak spot, and fresh paint laid over it could fail all over again.
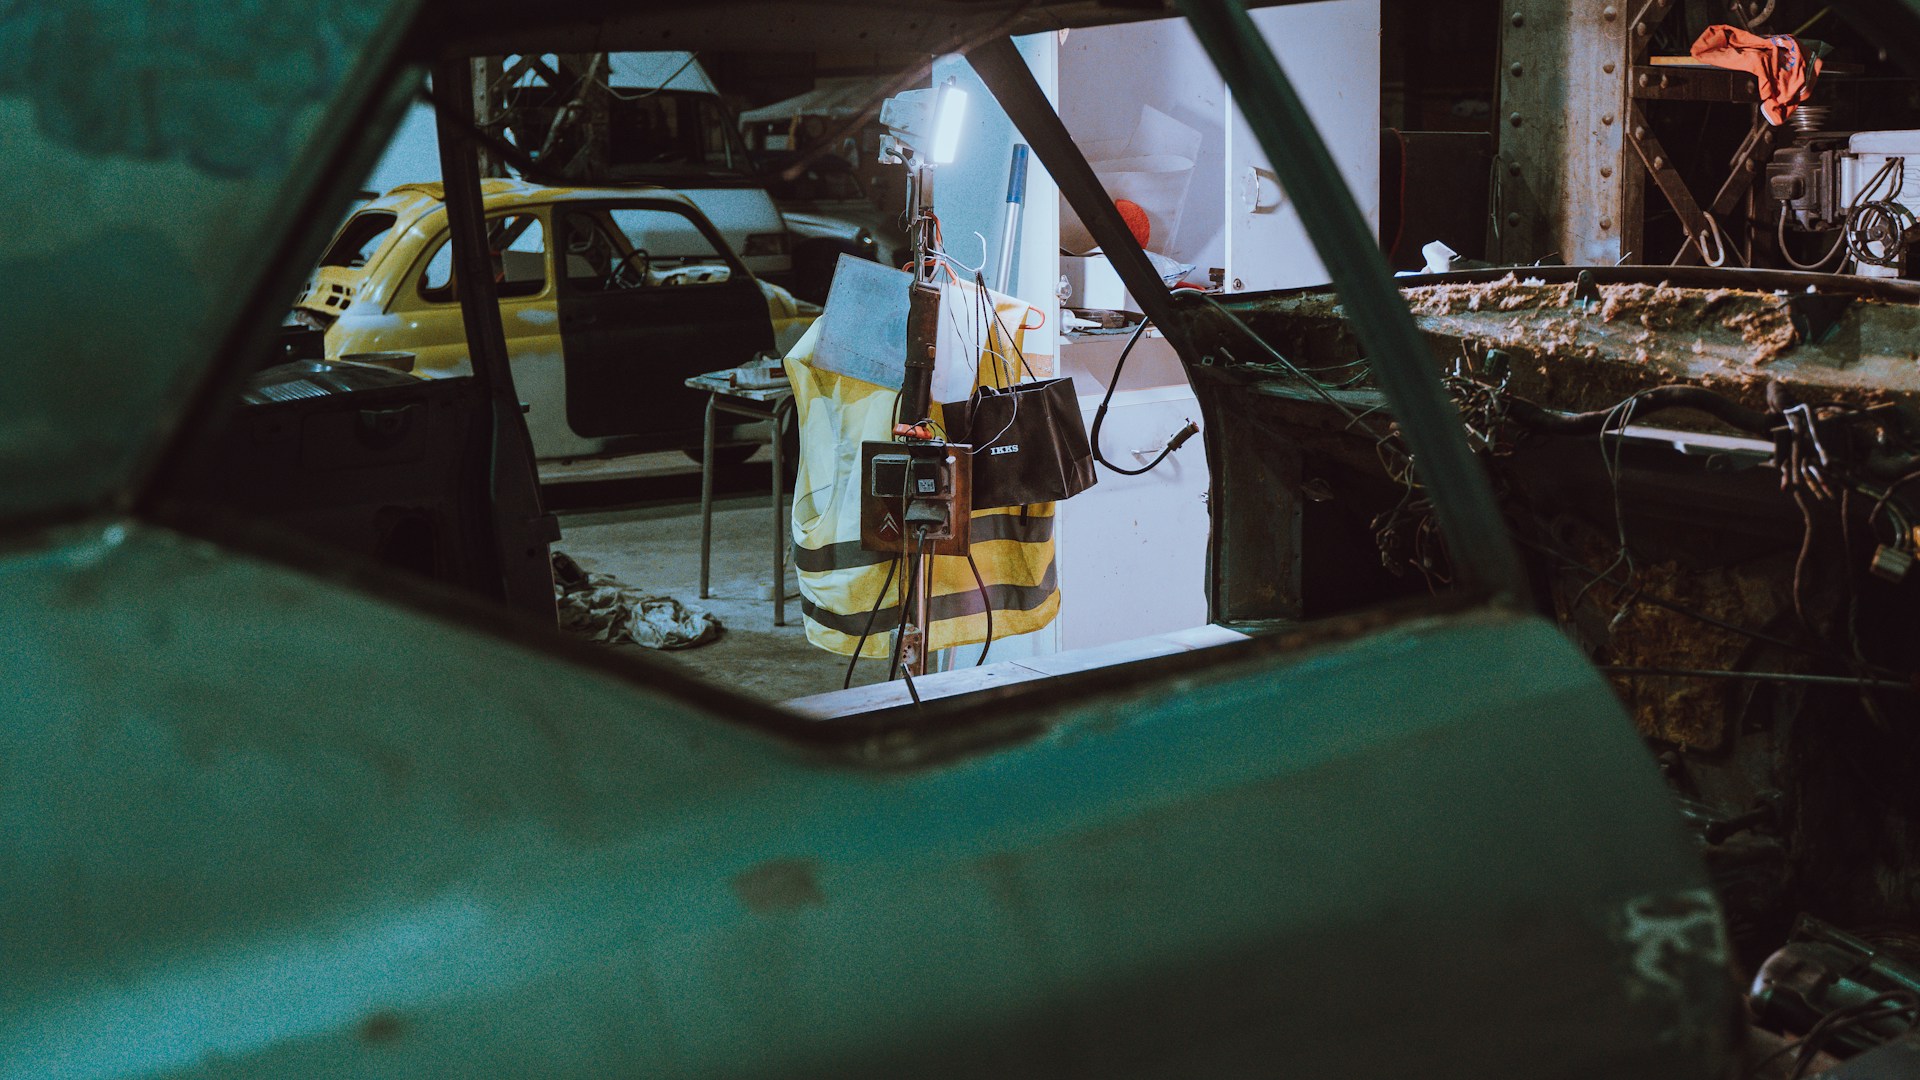
An engine bay is anything but a flat panel. It is full of nooks, crannies, curves and edges, so the team pulled out nearly every tool in the garage. Surface removal pads, abrasive pads, a die grinder, a big angle grinder and wire wheels all went to work.
The builder admits the job would have been miserable without the little tools. A mini orbital sander and the pads on the die grinder reached spots a full-size tool never could.
Back To Bare Steel, Then A Rough Sanding So The Next Coat Would Actually Stick
Once the metal was bare, he went around it with a dual-action sander fitted with 80 grit paper. The goal was to etch the surface so the new coating had something to grip. You can see in one wing how much it takes the shine off, he says.
He is a big fan of rust removal pads, which strip rust, paint and primer without taking away any metal. That matters because you do not want to thin the steel, which is exactly what a flap disc or grinding disc can do. But the same pads can leave a polished surface, and paint does not like a polished surface.
Before any coating went on, the whole area got a wipe with wax and grease remover, then a run with the vacuum to clear the dust.
Fans Blamed The Prep Work, But The Crew Says It Was Not The Prep
After the first video, commenters offered plenty of theories. The team says each one was reasonable, and that they had already ruled them out. The bay was cleaned, sanded with a dual-action sander and degreased everywhere, and the same steps were followed the second time around.
They also point out that the failure was not limited to areas treated with POR-15, the tough rust-preventive coating they had used on the chassis legs and then spread across the whole engine bay. Some patches had no POR-15 at all and went straight to epoxy primer. The epoxy primer came off those bare steel areas too, and what peeled away under the high-build primer was the epoxy layer itself.
That told them the high-build primer was innocent. Something was wrong with the epoxy underneath.
The Supplier Handed Over A Sealer Primer Hardener, And Admitted It
Here is the answer they landed on. The epoxy primer is an HB989 product mixed four parts to one with a hardener, and the hardener it calls for is an epoxy hardener. What they were given was the hardener for a sealer primer instead.
“It was definitely the hardener that was supplied with the paint,” the builders say. The supplier admitted the mistake and supplied the correct material so the job could be done over properly.
The crew calls it a setback that cost them days. They seem relieved to know it was a mix-up and nothing they did wrong with their sanding.
Cold Weather Forces A Change Of Plans
Painting the bay again was not possible right away because the weather in the northeast of England had turned too cool. The steel itself chills down overnight, even after a sunny day, and paint wants warmer metal. So they put POR-15 over the bare steel to stop flash rusting and protect it until they can paint properly.
The next step is getting the car inside for the winter. That meant making room first, so the crew lined the garage walls with boards, planned cupboards and started on a mezzanine in the corner for storage. Two other cars sit along one wall so the Jaguar can go right to the back.
There is plenty more waiting on the Jag. The front subframe comes off for a full strip and rebuild, and the engine is slated for new shell bearings, main bearings, rod bearings and an oil pump. They are also thinking about twin Weber carburetors, a new steering rack and suspension upgrades.
What Home Restorers Can Take From This
- Check the part numbers on primer, activator and hardener against the data sheet before you open anything. Many primers have look-alike hardeners.
- Do not trust a shiny surface. Rust and surface removal pads clean metal well, but follow up with a sander so the paint has a scratch pattern to bite into.
- Degrease with wax and grease remover as the last step before coating, not the first.
- Keep your receipt and the mix label. A supplier that stands behind its product, as this one did, makes the whole mess easier to fix.
- Watch the temperature. Paint and primer have a working range, and cold steel can ruin a good job.
It is a hard lesson, but the team sounds upbeat. “We’re back on top of it,” they say, and the Jaguar engine bay is protected again, ready for the next try once the garage is warm enough.
More Stories You May Like
- Driver Gets Fresh Oil, Then A Week Later The Warning Light Flickers At 70 MPH And The Engine Starts Knocking, Exposing An Oil-Change Mistake That Led To A New Oil Pan
- 10 Old Car Features Readers Want Back
- 39 Year Old Building The Car He Wished He Had At 18 Paints The Brake Calipers Red, Then Peels A 25 Year Old Warning Sticker Off The Old Overflow Tank And Super Glues It On The New One