

Time is money in the detailing world, and the same is true at home on a Saturday afternoon. Nobody wants to spend an entire day on the inside of a car. A detailer who posts as @renowneddetailing says he can complete a full interior in about two hours working alone, and he broke his process into numbered steps so anybody can follow along.
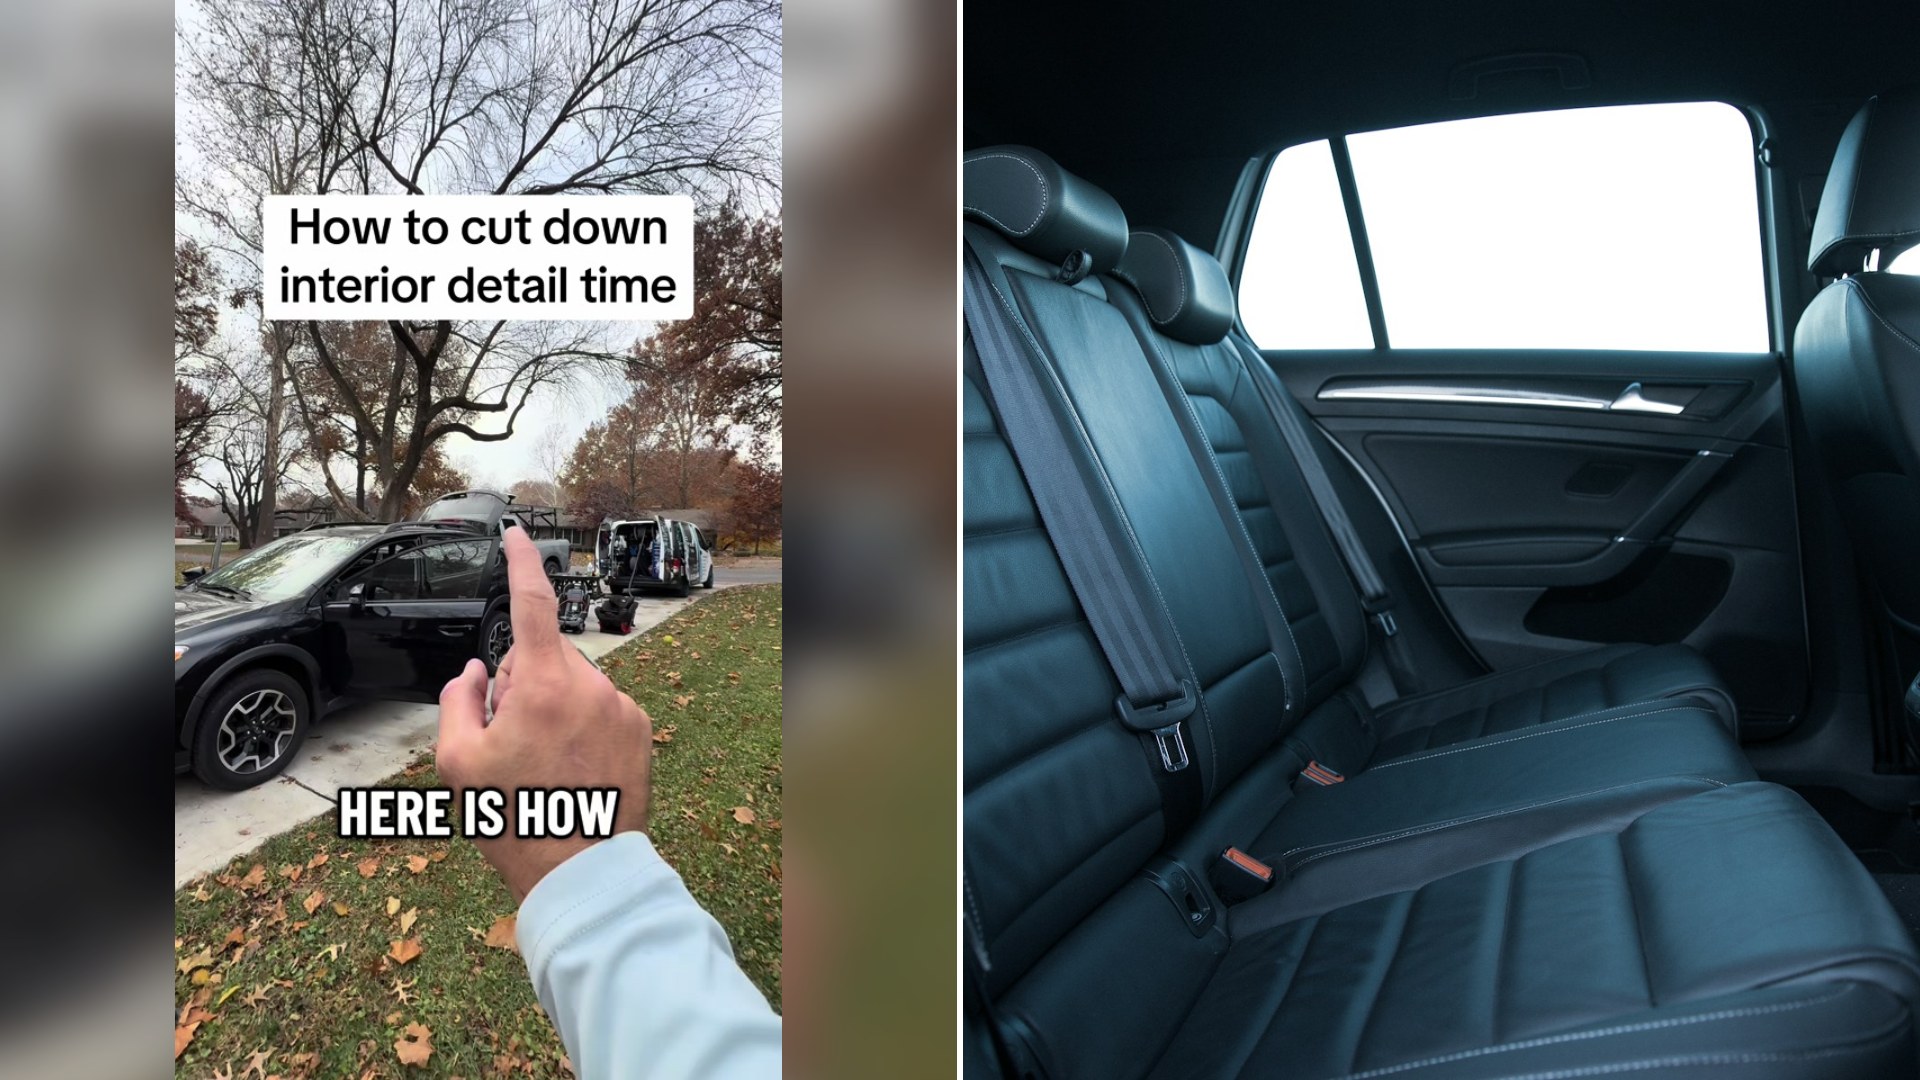
The big surprise is step one, which happens before the vacuum is ever plugged in. It is a simple change of order, but it makes everything else go faster.
@renowneddetailing
His six step interior routine
Step one is to blow out all of the cracks, crevices and plastics before vacuuming. Blow out everything, he says. Dust and crumbs hide in vents, seams, seat tracks and around the console, and a blast of air pushes them out into the open where the vacuum can pick them up.
Step two is the vacuum. He had already vacuumed the car in his example, just to demonstrate the order.
Step three is cleaning the door jambs. These are the painted edges and rubber seals that show when the doors are open, and they collect dirt that rubs on your clothes every time you get in and out.
Step four is cleaning all of the interior plastics. He calls his fastest approach top to middle, then down and out. The idea is to avoid going from the bottom up. If you clean the lower areas first and finish with the top, dust and drips fall onto parts you already cleaned and you have to do them again.
Step five is the leather or upholstery, whatever the car has inside.
Step six is the windows, followed by a final blast and vacuum, and cleaning the mats if the car has any. And, as he says, you are done.
He adds a realistic note at the end. The two hour time can vary depending on how bad the vehicle is.
Why this order saves time
Every step in the list has a purpose, and understanding the logic can help you adapt it to your own car.
Blowing first prevents rework. A vacuum alone cannot reach deep into crevices, and brushing loosens dust that then settles on freshly cleaned surfaces. Using air to dislodge it first means the vacuum can pick it up in one pass.
Cleaning from the top down uses gravity. Dust, drips and loosened dirt fall downward. If you start at the top, you catch the falling mess as you go. If you start at the bottom, you wipe the bottom twice.
Doing the glass near the end is smart because you are less likely to smear it while working around the cabin, and the final vacuum picks up whatever fell during the last steps. That final blast and vacuum is a safety net.
Making a two hour interior work at home
Most people will not match a professional’s speed, and that is perfectly fine. Plan for three or four hours on a first try. Here is how to set yourself up.
Gather your supplies before you start. A vacuum with a crevice tool, a few clean microfiber towels, a soft brush, an interior cleaner suitable for your surfaces, a glass cleaner and a trash bag will cover most jobs. Having everything within reach prevents wasted trips.
Remove clutter first. Take out trash, loose items and floor mats. Check pockets, cup holders and the spaces under the seats.
Use air if you can. A small compressor is ideal, but a can of compressed air or an inexpensive electric blower can loosen dust from vents and seams.
Do not forget the door jambs. They are quick to wipe, and cleaning them makes the car feel completely finished.
Match the product to the surface. Use a cleaner made for leather on leather, and a fabric or upholstery cleaner on cloth. Test any product in a hidden spot and follow the label. Too much liquid on seats can soak foam and leave odors.
Spray the towel, not the surface, near electronics and screens. This avoids drips into buttons.
Work in zones. Pick a starting point, such as the driver’s door, and finish that zone before you move on. Jumping around the cabin is the easiest way to miss a spot, and a simple route keeps you from retracing your steps.
Check your lighting. A small flashlight held at an angle shows dust, smudges and crumbs that disappear in dim light, and it helps you catch the spots a quick glance would miss.
Finish with the glass and a last vacuum. Take a step back and look at the car in daylight, which shows missed spots better than a garage light.
If your car has not been cleaned in a long time, expect the routine to take longer, and consider splitting it into two sessions. Do the blowing, vacuuming and plastics in the first, then come back for upholstery and glass. Breaking the job up keeps you from rushing the finishing steps, which are the ones that make the car feel clean when you sit inside it.
Good habits make the next clean even faster
A little upkeep goes a long way. Keep a small trash bag in the car, wipe the dash and console every week or two, and shake out the mats when you fill up with gas. When crumbs and dust never pile up, the deep clean becomes a light refresh.
What makes this approach from @renowneddetailing useful is that it is built on efficiency. Blow, vacuum, jambs, plastics, upholstery, then windows with a final pass. Six simple steps in the right order can turn a daunting chore into a manageable weekend project, and give you a cabin that feels like new.