

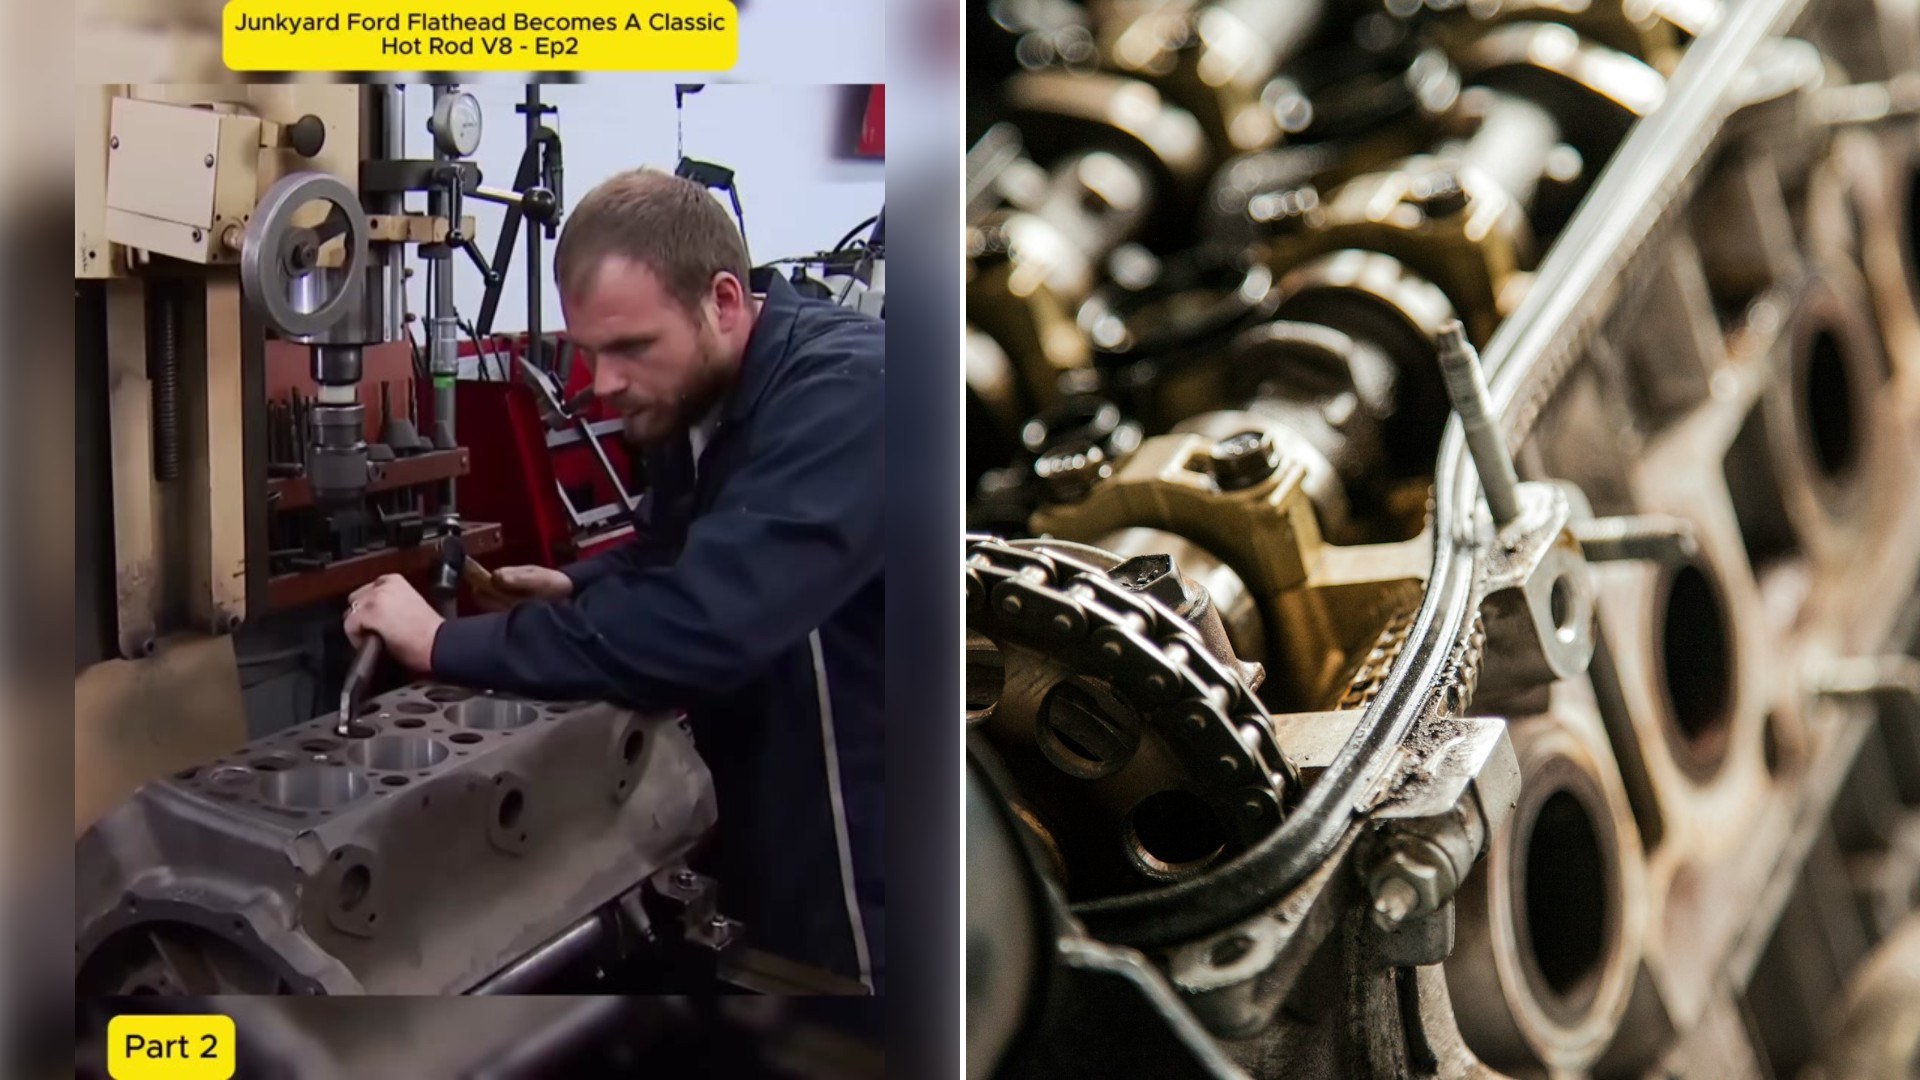
A Ford flathead pulled out of a junkyard does not turn into a hot rod engine because someone hosed it off. In a two minute shop video, an old V8 block gets the slow, fussy work that decides how well it will seal and how well it will breathe, and the very first job on the list fights back hard enough to leave a mark on the person doing it.
The clip comes from @tesshodges19644 under the title “Junkyard Ford Flathead Becomes A Classic Hot Rod V8,” with a yellow tag in the corner marking it as Part 2, and it picks up in the middle of the build. “Now, I need to start pulling out all the bad seats using a homemade hook and a hammer,” the builder says over a close view of a bare, gray block.
@tesshodges19644
The old valve seats do not want to leave. The builder gives credit to whoever worked on this engine last: “Whoever put these in and did the valve job did a good one, because there’s nowhere to get a good lip to pull it out.” A moment later comes the blunt summary, “This is rough,” along with the news that the block has drawn blood twice that day. The camera shows one of the thin rings finally sitting loose on the deck.
Once the seats are out, the new ones go in with more control than the old ones came out. A flathead pilot fits into the spot where the old floating valve guide used to sit, the new seat goes on, and it is driven home with a bearing and race driver, which keeps the seat centered and straight on the way down.
Then the attention moves to the gasket surfaces. A bearded man in a blue work shirt leans over the block and pushes a sanding block across the deck with both hands. The deck gets 80 grit sandpaper on the first pass. “This will add some bite for the gasket to make a good seal,” the builder explains. A second pass follows with a finer paper, used wet, to smooth the surface slightly, and the close up afterward shows a clean, evenly scratched finish around every bore. “It sounds contradicting, but this will cause the gasket to bite into the metal, but still seal.”
Next comes porting, and the video explains why it is needed on this particular block. The throat area of the intake was opened up during the valve work, and that left the short side radius with a harder transition, which restricts airflow. “So by using a grinder and a cartridge roll, we’ll smooth it out to increase the intake runner’s airflow,” the builder says, as a small burr and then a sanding roll work around the inside of a port ringed with red marking dye. The exhaust side gets the same treatment. The team also blends a smooth path for air through what is called the curtain area, described in the clip as the space “between the valve face and the valve seat when it’s open.”
While a second person in the shop keeps porting, the narrator takes on a job that never makes a highlight reel: “I’m using a thread chaser to clean every tapped hole in the block. This will make sure the threads are clean and the bolts are properly torqued during assembly.”
Then the stakes go up. “Now we’re ready to do the valve job, which could make or break this build.” The exhaust valves stay the same size, which the builder gives as 1.520 inches, and those seats only need a touch up. The intake side is opened up for a larger 1.620 inch valve head, and that takes several steps. First a 70 degree cutter goes into the throat to make some room. That lets the new three angle cutter fit, the builder says, “and keep me from crashing all the tooling.” Next is a deshrouding cut up top, which will “help keep the area around the valve clear for air and fuel to move through better.” Only then is the actual three angle valve job cut for the bigger valve, with bright metal chips piling up around the tool as it comes down.
The last stop in the clip is cleaning, and it comes with a piece of flathead lore. “Flatheads are known for releasing sand from the casting process, even after shot peening,” the builder says. So the whole block is lowered into the shop’s sonic tank “to allow the ultrasound waves to release any more contaminants from the block.” After a final wash, the video signs off with the next step already lined up: the inside of the block is ready for some color.
For anyone with an old engine on a stand at home, the video is a tidy list of the steps that are tempting to skip.
Chasing threads is the easiest one to copy. Every tapped hole in a block that has sat for years holds rust, old sealer and grit, and all of it adds drag when a bolt is tightened. As the clip points out, clean threads are what let bolts be properly torqued during assembly. A thread chaser cleans the threads that are already there, and it is an inexpensive tool to keep in the drawer.
The deck prep is worth noting as well. The builder does not chase a mirror finish. The first pass with coarse paper gives the gasket something to grip, and the wet second pass takes the surface back just enough that it still seals. If you are sanding a gasket surface by hand, the finish matters as much as the cleanliness.
The order of operations on the valve job carries a lesson too. Going to a bigger intake valve is not a matter of dropping in a larger part. Room has to be made in the throat first so the cutter fits, the area around the valve has to be opened so the extra size can do some good, and the port behind it has to be blended so the air has a smooth path. Each change creates the need for the next one, so plan the whole sequence before cutting anything.
And clean more than you think you need to. This block had already been shot peened, and it still went into an ultrasonic tank because of the casting sand these engines are known to give up. Anything left inside an engine at assembly ends up in the oil.
One more takeaway comes from the opening seconds. Parts that were installed well can be the hardest to remove. A homemade hook and a hammer got the job done here, and it still cost some skin. Wear gloves, take your time and expect the stubborn parts of an old engine to take longer than the rest.