

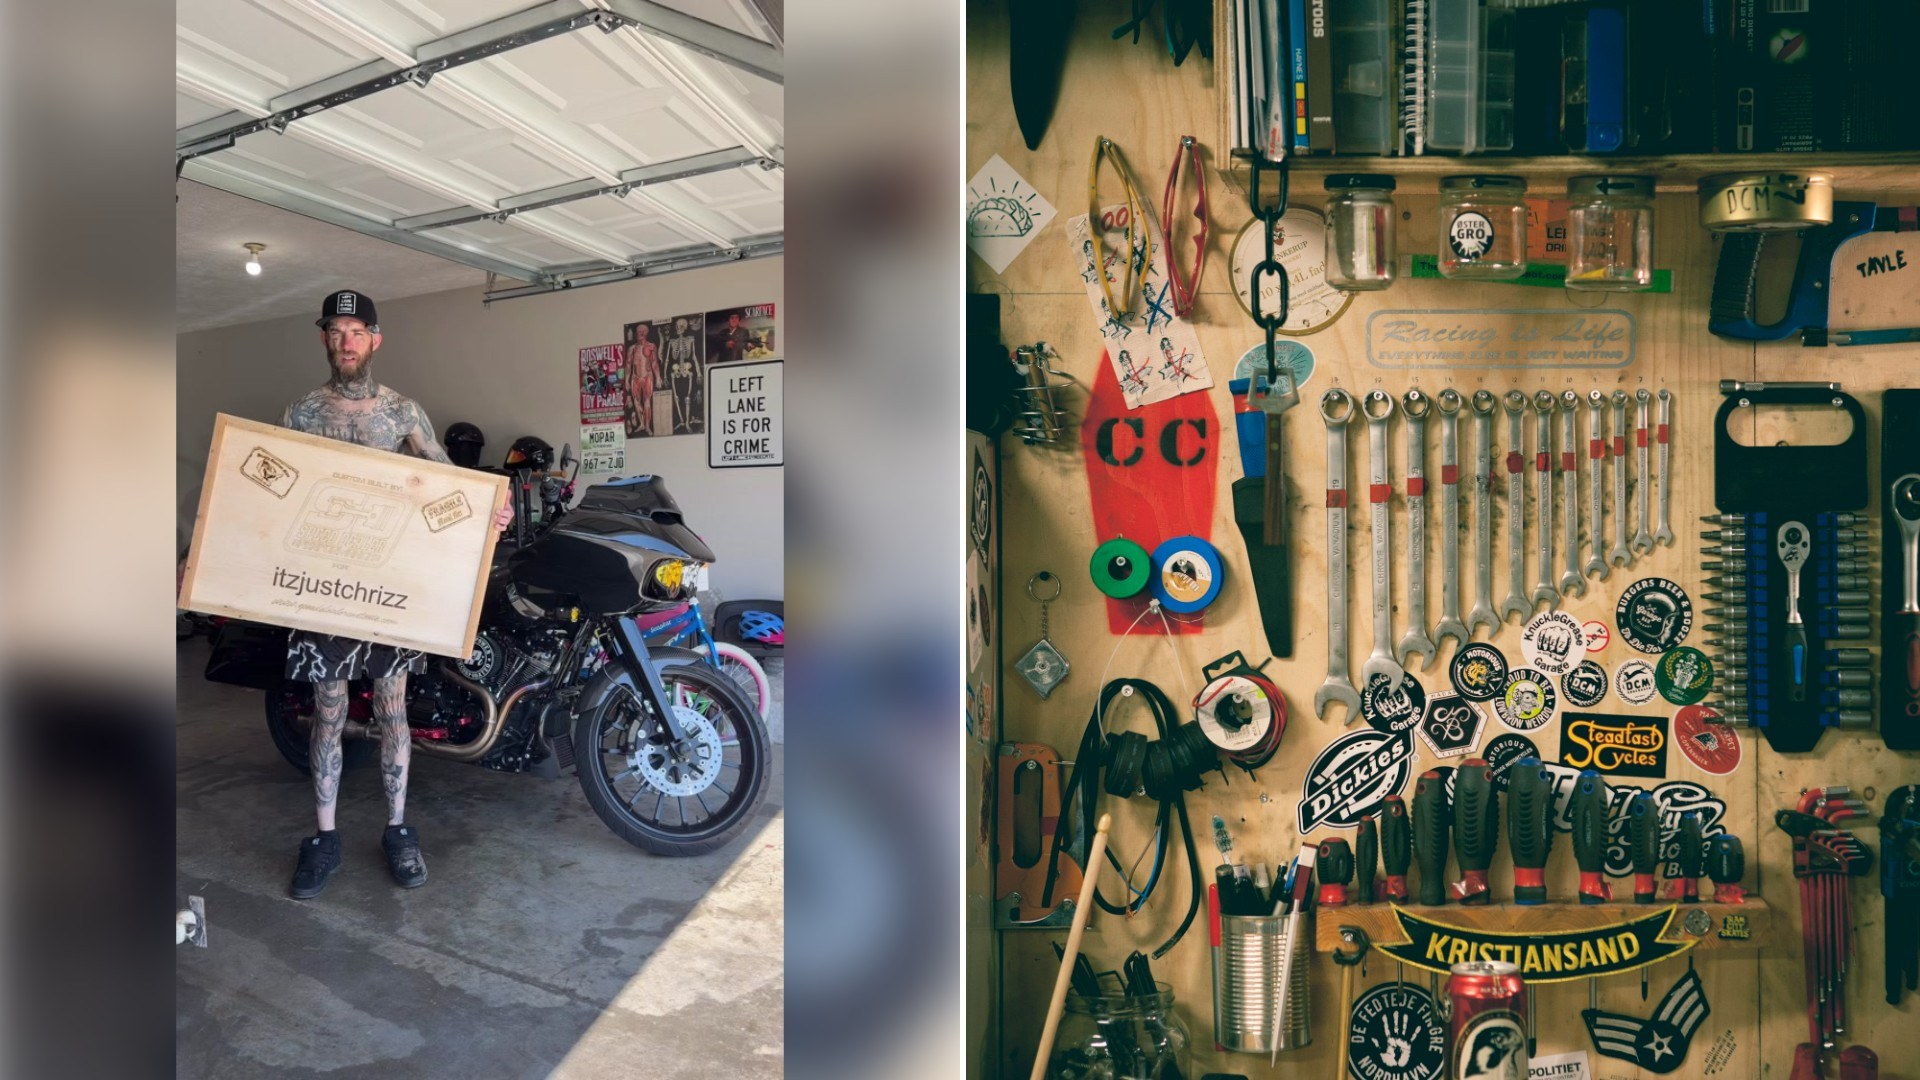
The video starts with a man in a black cap crouched over a wooden shipping crate on a concrete garage floor. His TikTok handle is branded into the lid. Before he opens it, @itzjustchrizz says, in saltier words than these, that he hopes he does not mess this up.
“I got a new subframe for my Road Glide,” he says. “Today we’re gonna attempt to install it.” He already knows the part may not simply bolt on. “It said minor modifications could be possible,” he adds, “so we’re gonna see how it goes.” A few seconds later the crate is open and he gives his verdict on what is inside: it is, he says, beautiful.
@itzjustchrizzNew Speed Dealer subframe install for my road glide 🏍️
The caption calls it a “New Speed Dealer subframe install for my road glide,” and the nearly three minute video is the first half of that job. He takes viewers through the teardown in the order he does it. “So the first thing we gotta do is get this saddle bag off,” he says. Next comes the lift. He rolls out what he calls “my Harbor Freight jack” and explains the goal: “We got to raise it up so the back wheel is off the ground.”
With the bike in the air he shows where the work will happen. “So Speed Dealer is who made the subframe,” he says. “They also made the swing arm. So it’s going to match the swing arm that I have right here.” He points out where the new piece mounts: “The subframe starts at these two bolts and this bolt.” He describes it as the triangle shaped section at the back of the bike, and he tells viewers that whole area is going to be red. “It’s gonna be sick,” he says.
There is a short detour in the middle. He breaks off to offer something that has been sitting in his garage to anyone in the Nashville area who can come and pick it up, promising a very good deal because he is tired of it taking up room.
Then it is back to the bike. “What we gotta do is strip everything down from about here back,” he says. “Everything has to come off.” He stops once to admire a detail he is not removing. “This is my favorite part of the whole bike right here,” he says. “My Derby cover.”
One part gets special care. “Next thing we’re gonna do is remove this carbon fiber rear fender,” he says, “because it’s rather expensive” and he does not want to damage it.
About two and a quarter minutes in, he reaches the piece he came for. “Alright, so now we’re down to the subframe,” he says, pointing again to the two bolts and the single bolt that should release it on each side. This is where he is most candid about his experience. He says he has never done this in his life and that he is “just kind of guessing” and “getting a feel for where” things go. Then comes the line that sums up the method: “I’m basically just taking bolts loose until it comes apart.”
It works. The old subframe comes off, and he jokes that he should leave the bike that way and ride it. He ends on a note any home mechanic will recognize. “So I got it apart,” he says. “But it’s always easier coming apart than it is going back together.” He asks viewers to follow along for the next episode, when he tries to put it all back together with the new part.
His last point is the most useful one in the video, and it is worth planning around before the first bolt comes out. Taking a bike apart is the easy half. Here is how to make the second half easier.
Photograph everything before and during the teardown. A phone picture of each bracket, wire and hose before it comes off is the cheapest insurance there is, and it settles arguments with your own memory a week later.
Bag and label the hardware as it comes out. One bag per component, with a note saying where it came from, turns a pile of similar looking bolts into a set of instructions. Threading each bolt back into its hole by a few turns after the part is off works just as well.
Get the service manual for the bike and the instructions for the new part, and read both before starting. He mentions that his part warned “minor modifications could be possible.” A note like that is a reason to test fit everything before any paint or powder coat goes on, because trimming or drilling a finished part ruins the finish.
Lift the bike so it cannot move. He raises his until the rear wheel is off the ground, which the job requires. A heavy touring bike on a jack should also be strapped or otherwise steadied, because pulling on stuck bolts shifts the weight around.
Pull expensive and fragile parts early and put them somewhere safe, the way he does with his carbon fiber fender. Bodywork gets damaged by dropped tools and swinging parts far more often than by riding.
Finally, treat reassembly as its own job. The subframe carries the rear of the motorcycle, so every fastener should go back to the torque value in the manual, and the first ride should be short, followed by a check that nothing has loosened.