

A taillight goes out on a 2023 Toyota RAV4, and the owner gets an unwelcome surprise at the dealership. According to the mobile mechanics behind @desertwrenchers, Toyota wanted more than $300 to replace the entire taillight assembly, saying the LED inside could not be replaced on its own. The mechanic did some digging and found that it can. The fix took one part that costs about $40 at the dealership, two 10 millimeter bolts, and a T20 security bit.
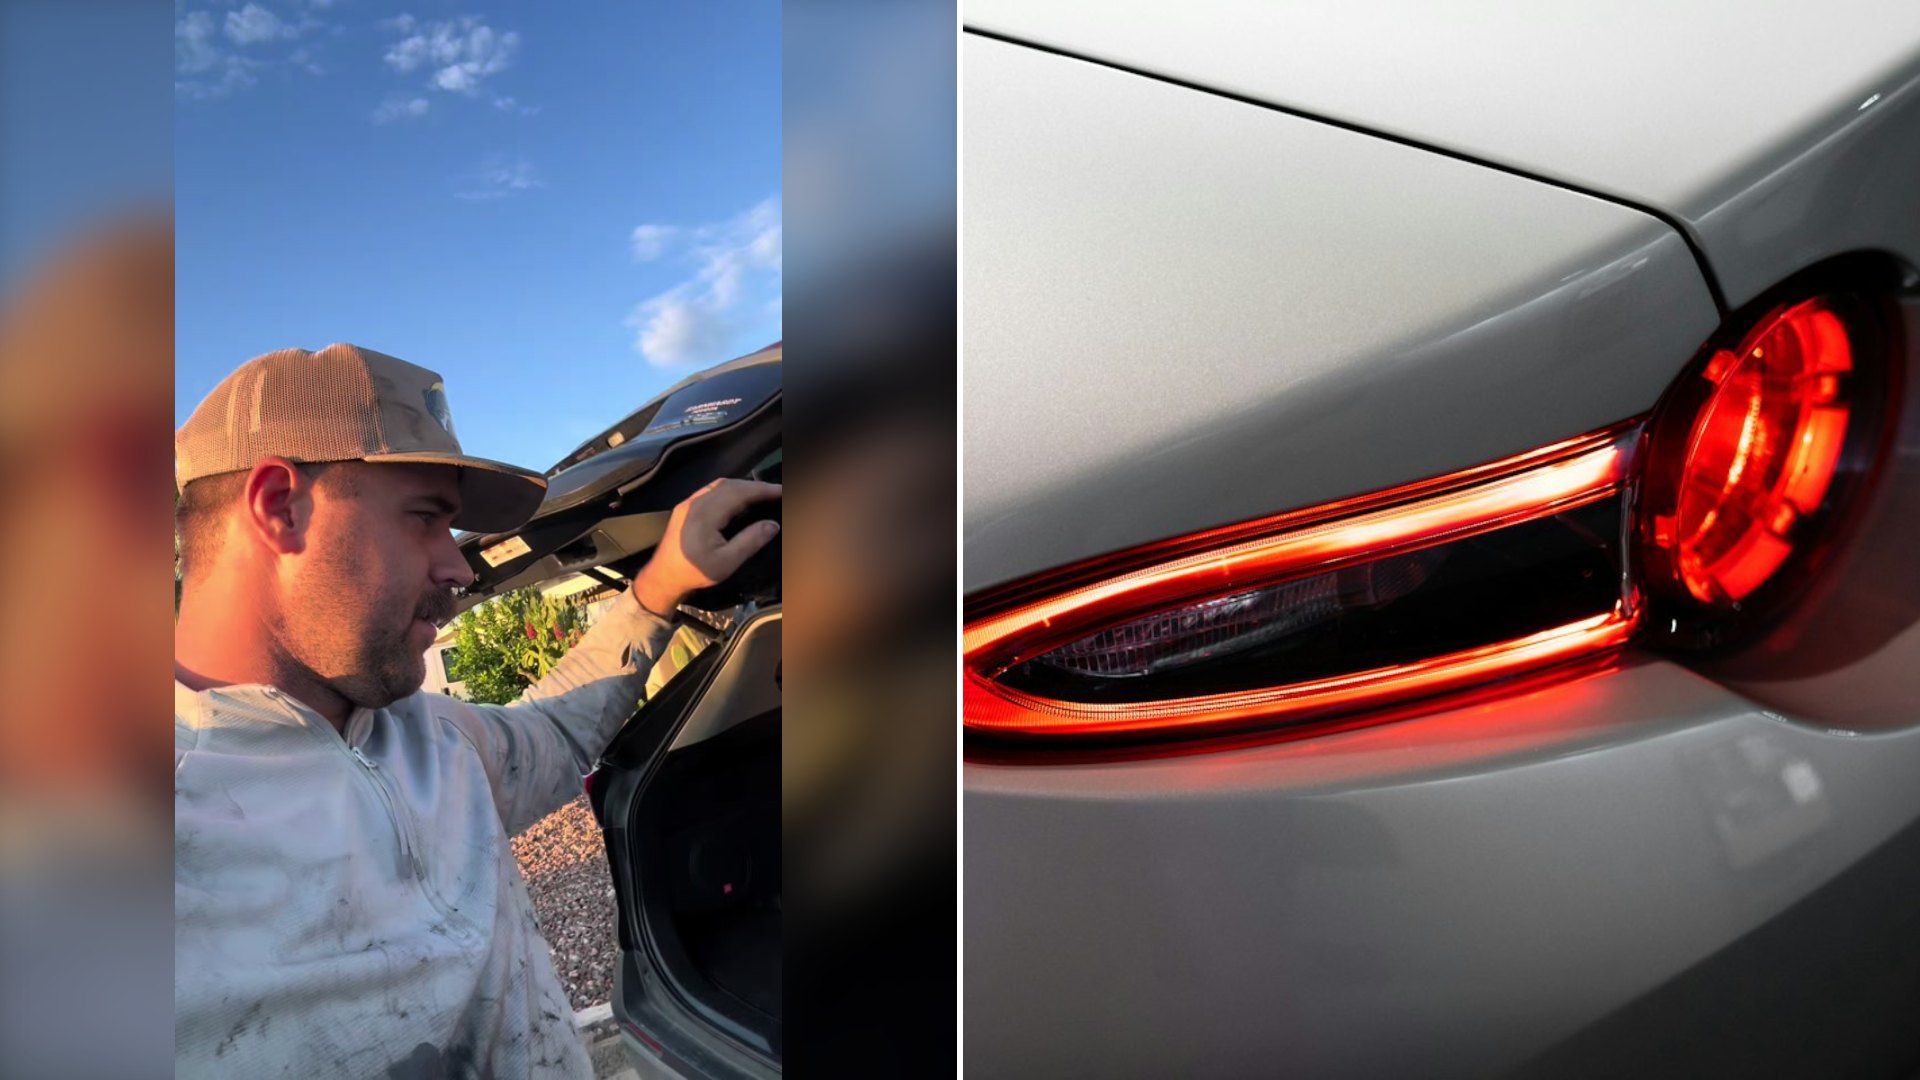
“If you have these taillights with the LED bulbs in them, and your taillight goes out, you’re going to be shocked when you go to Toyota,” he says in the video. Instead of swapping a bulb, the owner is told the whole assembly has to go. “And this one is over $300.”
So he went looking for another answer. After pulling up a couple of parts diagrams, he found a separate part number for the LED unit itself. He says Toyota did not want to give him that number, but once he had it, the parts department looked it up and confirmed it exists. In his caption, he shares it for anyone in the same spot: part number 81536-42230, about $40 at the dealership.
Then he walks through the repair step by step:
- Pull out the trim piece next to the taillight. It comes straight out.
- Remove the two 10 millimeter bolts underneath.
- There is a small clip behind the assembly. Pull the whole taillight straight back to release it.
- With the assembly out, the LED unit is held on with a T20 security screw. Remove it.
- Put the new LED unit in and twist it to seat the seal.
- Reinstall the taillight, the bolts, and the trim piece, then test the lights.
When he pulled the old unit, the problem was obvious. “You can see here the contacts on this little LED have fried,” he says. Side by side, the new part looks exactly like the old one. After everything went back together, the light that had been dead came right back on.
“Toyota wanted $300 plus. All it was was a bulb,” he says. His advice for the next time a dealer says you need the whole assembly: push back. “Do your research. Look at the diagrams of the taillight. You’re going to find a part number and most of this stuff is replaceable.”
@desertwrenchers
Check Your Warranty Before You Pay Anything
Before you pay for any repair on a newer vehicle, find out whether it is still covered. Toyota’s basic new vehicle warranty runs for three years or 36,000 miles, whichever comes first, and typically covers defects in parts like lighting. A 2023 model may still be inside that window depending on when it was first sold and how far it has been driven. If it is covered, the dealer should repair it at no cost to you, whatever the part.
If your warranty has expired, that is when the price difference between a $40 part and a $300-plus assembly really matters.
How to Find the Right Part Number Yourself
Many modern cars use sealed LED lamps, and in some cases the whole assembly truly does need to be replaced. In others, as this video shows, there are smaller serviceable pieces inside. Here is how to find out.
- Look up the official parts diagrams. Many dealerships run online parts stores that show exploded diagrams of each assembly, with every piece labeled and numbered. Search for your vehicle by year, model, and trim, or by VIN.
- Ask the parts counter for the diagram. If the service advisor says something cannot be replaced, walk over to the parts counter and ask to see the diagram yourself.
- Bring the part number with you. Having the exact number makes it easy for the parts department to check price and availability.
- Compare prices. Genuine parts are often sold for less through online dealer parts stores than at the counter, though shipping can narrow the gap.
- Get a second opinion. Independent shops and mobile mechanics may know shortcuts that a dealer service department will not offer.
Tips for Doing It Yourself
A job like this is well within reach for many owners with basic tools. A socket set with a 10 millimeter socket covers the bolts. A T20 security bit, which has a small hole in the center to fit tamper-resistant screws, is sold inexpensively in multi-bit sets at hardware and auto parts stores.
Work slowly when removing trim and clips, since plastic can become brittle with age and temperature changes. A plastic trim removal tool helps prevent scratches. Keep screws and bolts in a small cup so nothing rolls away. Before you put the trim back on, have someone step on the brake and turn on the lights so you can confirm everything works.
Do not put this kind of repair off. A burned-out taillight makes it harder for other drivers to see you, especially at night and in bad weather, and it is a common reason for police to pull drivers over. In many states, it can also cause a vehicle to fail a safety inspection.
The bigger lesson goes well beyond one taillight. When a repair estimate seems out of proportion to the problem, it is worth asking a few questions. Sometimes the expensive answer is the only one. Sometimes, as this mechanic found, a $40 part and a few basic tools will do the job.
More From Steel Horse Rides
- Ignoring The Check Engine Light Is Risky, But Paying For A Diagnostic You Could Skip Is Not Smart Either, So Here Is How Free Code Reading Works And When To Worry
- Volkswagen Tells ID.4 Owners To Stop Charging Past 80 Percent While A Battery Fire Recall Waits On A Fix For More Than 22,000 Vehicles
- Running Part Time 4WD On Dry Pavement Can Bind Up The Drivetrain And Lead To A Painfully Expensive Repair Bill, So Learn When To Shift Your 4×4 Properly