

A 2019 Subaru Forester that mostly sits in the driveway can end up with brakes that look fine on the outside and crusty on the inside. A mechanic on the @SouthMainAuto channel shows what that looks like during a front pad and rotor job.
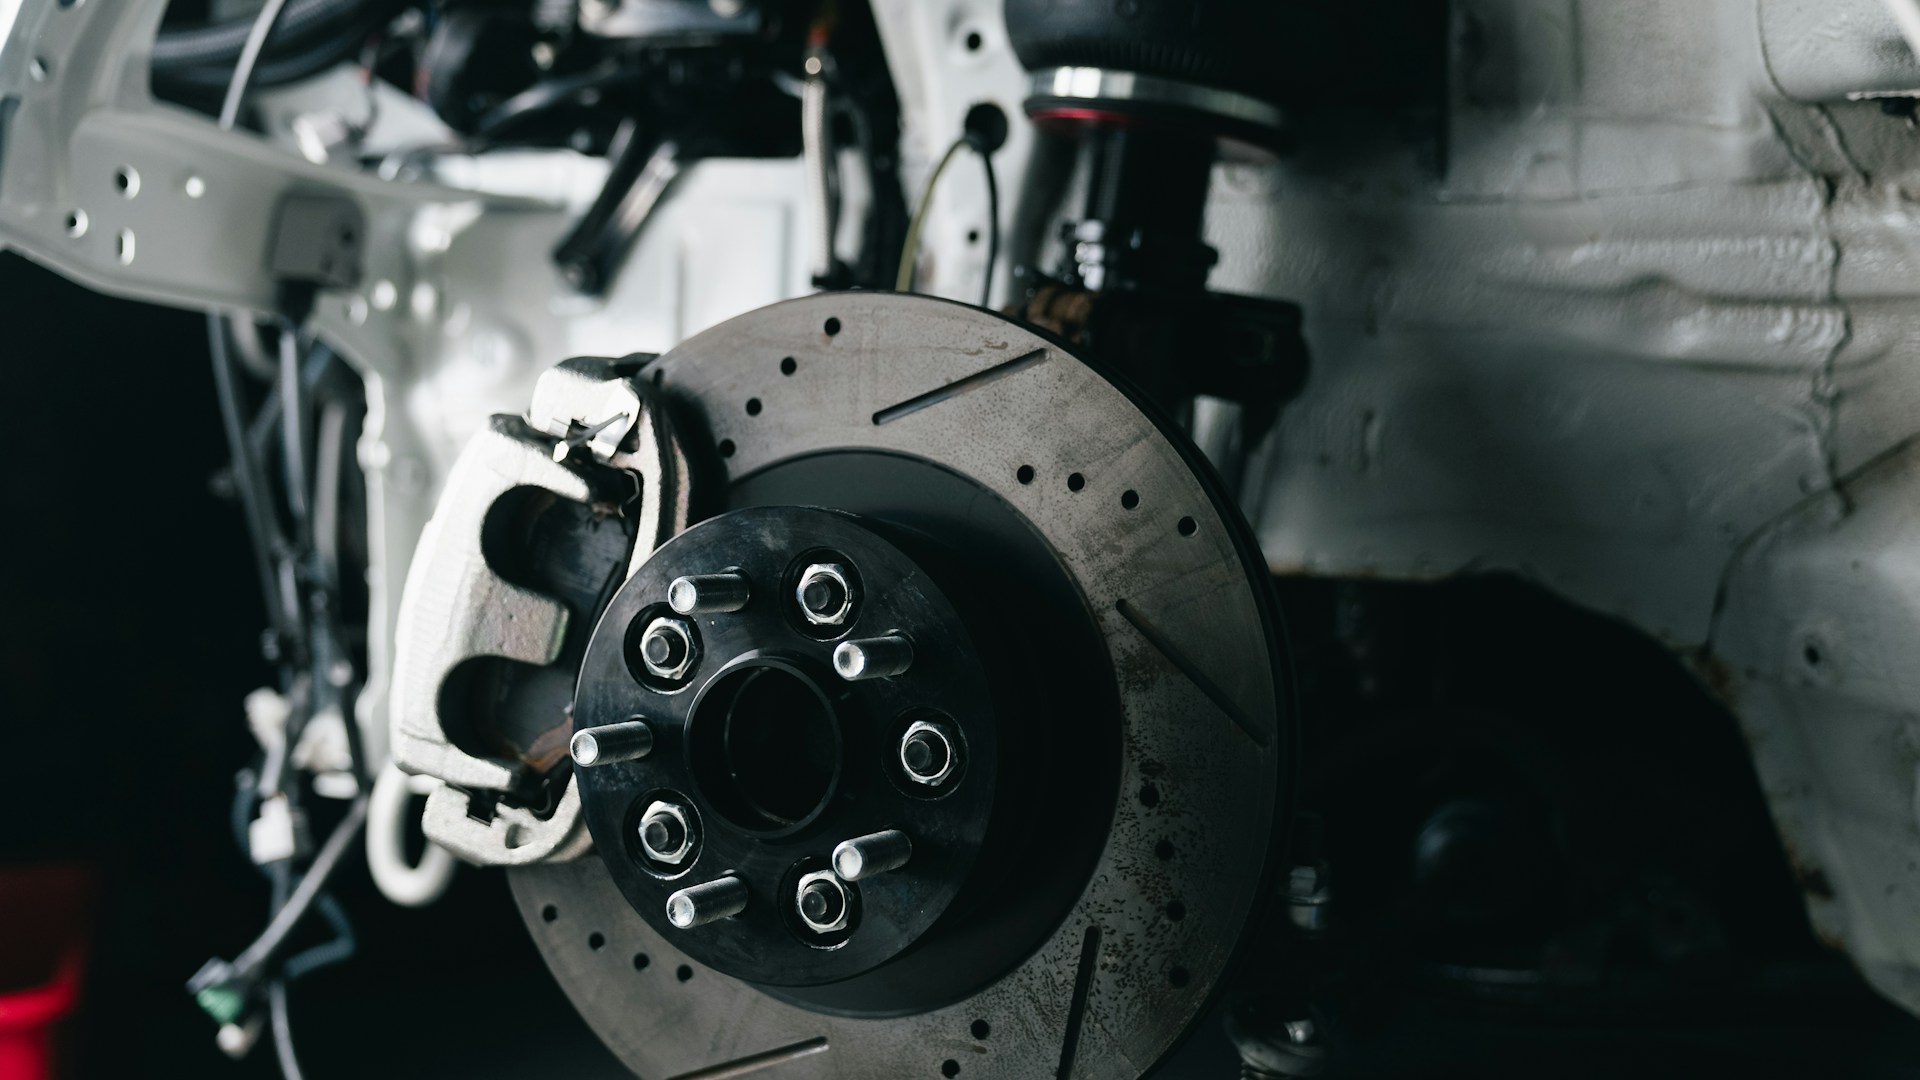
He opens by saying the inside of the rotors are getting a little crusty because the car sits a lot, so he is going to slap on new pads and rotors. The outsides, he notes, are not too bad.
Rust On The Inner Surface Makes Brakes Thump Like Crazy
Once the caliper came off, the mechanic checked what was left. The pad life was still pretty good, he says, probably half a pad, and the inside of this rotor was not terrible.
The rotor on the other side was a different story. That one, he says, was rusted almost all the way out to the edge, while this one only had a little rust, which he calls “typical New York stuff.”
Here is the part that matters for any driver. “Once they start building up on the inner surface, these brakes will thump like crazy,” he says. A rotor you cannot see from the wheel side can still be the one making the noise.
A Few Small Checks Before The New Parts Go On
He started with the right sockets, and anyone who has done brake work will smile at this part. He guessed a 14 and a 17, then corrected himself on the caliper bolts, which needed a 19 rather than a 17.
With the caliper peeled off, he pushed the pistons back to make sure they moved easily, and they did. The hub surface was really clean, so he went over it with a polisher to take off the light surface rust.
He also reminds viewers to check the metal-to-metal contacts, the spots where the pads and hardware meet the caliper bracket. The pins felt fantastic, he says, but he cleaned up the bracket anyway before opening the new brake boxes.
The Hardware Clips Come In Fat And Skinny
Here is a detail that can trip up a home mechanic. The hardware clips in the box did not match what came off the car, and he stopped to sort out why.
Sometimes the clips come in different widths, he says. That is usually a Toyota thing, but it is a Subaru thing too, because the clips fit a different width of rotor. Holding the two sets up to compare, he showed that one clip is wider than the other. “We need the fatties,” he says, and the skinny ones went back in the box.
Where The Wear Indicator And Squealer Go
He then installed the pads. The outside pad has the wear indicator, and the inside pad has a squealer. On this car, the squealer sat on the leading edge, even though he notes that squealers are often on the trailing side.
He put it back the way the original equipment was set up, calling it monkey see, monkey do. And he says he would normally discourage copying what is on the car, because the last person may not have put it together right. His advice is to double check the service information.
Silicone Grease Keeps The Pins From Locking Up
Next came lubrication. The pins still had the factory orange goo on them, so he added a little silicone grease on the pin and a little toward the top so everything seals up and keeps moisture out.
“Don’t go overboard with these,” he says. He likes the grease at the top because it keeps that groove from getting crusty, and he explains that once the groove gets crusty and moisture gets in, the pins will lock right up.
Torque Specs Are Lighter Than You Might Expect
He slid the rotor on and held it in place with a lug nut, then set the caliper down over the pads, started the top bolt, then the bottom bolt, and moved on to torque.
The caliper bolts, he says, are about finger tight by comparison with other fasteners. He quoted about 20 pound feet on one bolt and just under 100 on the rear bolt, rounding the second one to an even 100 and noting that the figures are converted from metric.
His line about why it matters is the one to remember. “The main thing is you don’t want them falling off,” he says, and he jokes that customers get all weird about it when their brakes fall off.
The Finishing Steps, And What He Sees Often In New York
Last, he says to put the wheel on, check the brake fluid and torque the wheels to factory specs. Then you can go for a rip.
This Forester had only a few thousand miles since its last inspection, and he says he sees that kind of rusty rotor often in his part of New York. He adds that he should have done the more rusted passenger side for the camera, since the right side tends to be crustier than the left.
What Drivers Can Take From This Brake Job
A few simple habits come out of his walkthrough, and none of them need special tools.
- If a car sits a lot, check the inside surface of the rotors, not just the outside you can see through the wheel.
- When the inner surface builds rust, expect a thumping feel through the pedal.
- Make sure the new hardware clips match the rotor width before you install them.
- Put silicone grease on the pins and the top of the pin groove to keep out moisture, but go light.
- Check the brake fluid, and torque the wheels to factory specs.
As the mechanic likes to sign off, if he can do it, you can do it. Just keep an eye on the side of the rotor nobody sees.
More Stories You May Like
- 10 Vehicles That Lose Value Fastest In The First Five Years According To iSeeCars, And Why Buying Used Can Save Thousands
- 9 Routine Car Maintenance Services Experts Say Many Drivers Can Skip, And The Owner’s Manual Check That Can Save Real Money
- Dealership Admits A Math Error On A Tahoe Sale And Asks The Buyer To Split A Difference Of Roughly $2,000, Then She Records The Whole 30 Minute Talk And Refuses To Pay Half