

If you have ever restored an old car, you know the feeling. You open up a section that looks a little tired, and a few hours later you are staring at a hole big enough to fit your hand through. That is how things went for the team at UPbuild, who are rebuilding a Jaguar in their garage. The trouble started around the brake servo, and it ended with a disaster they did not see coming.
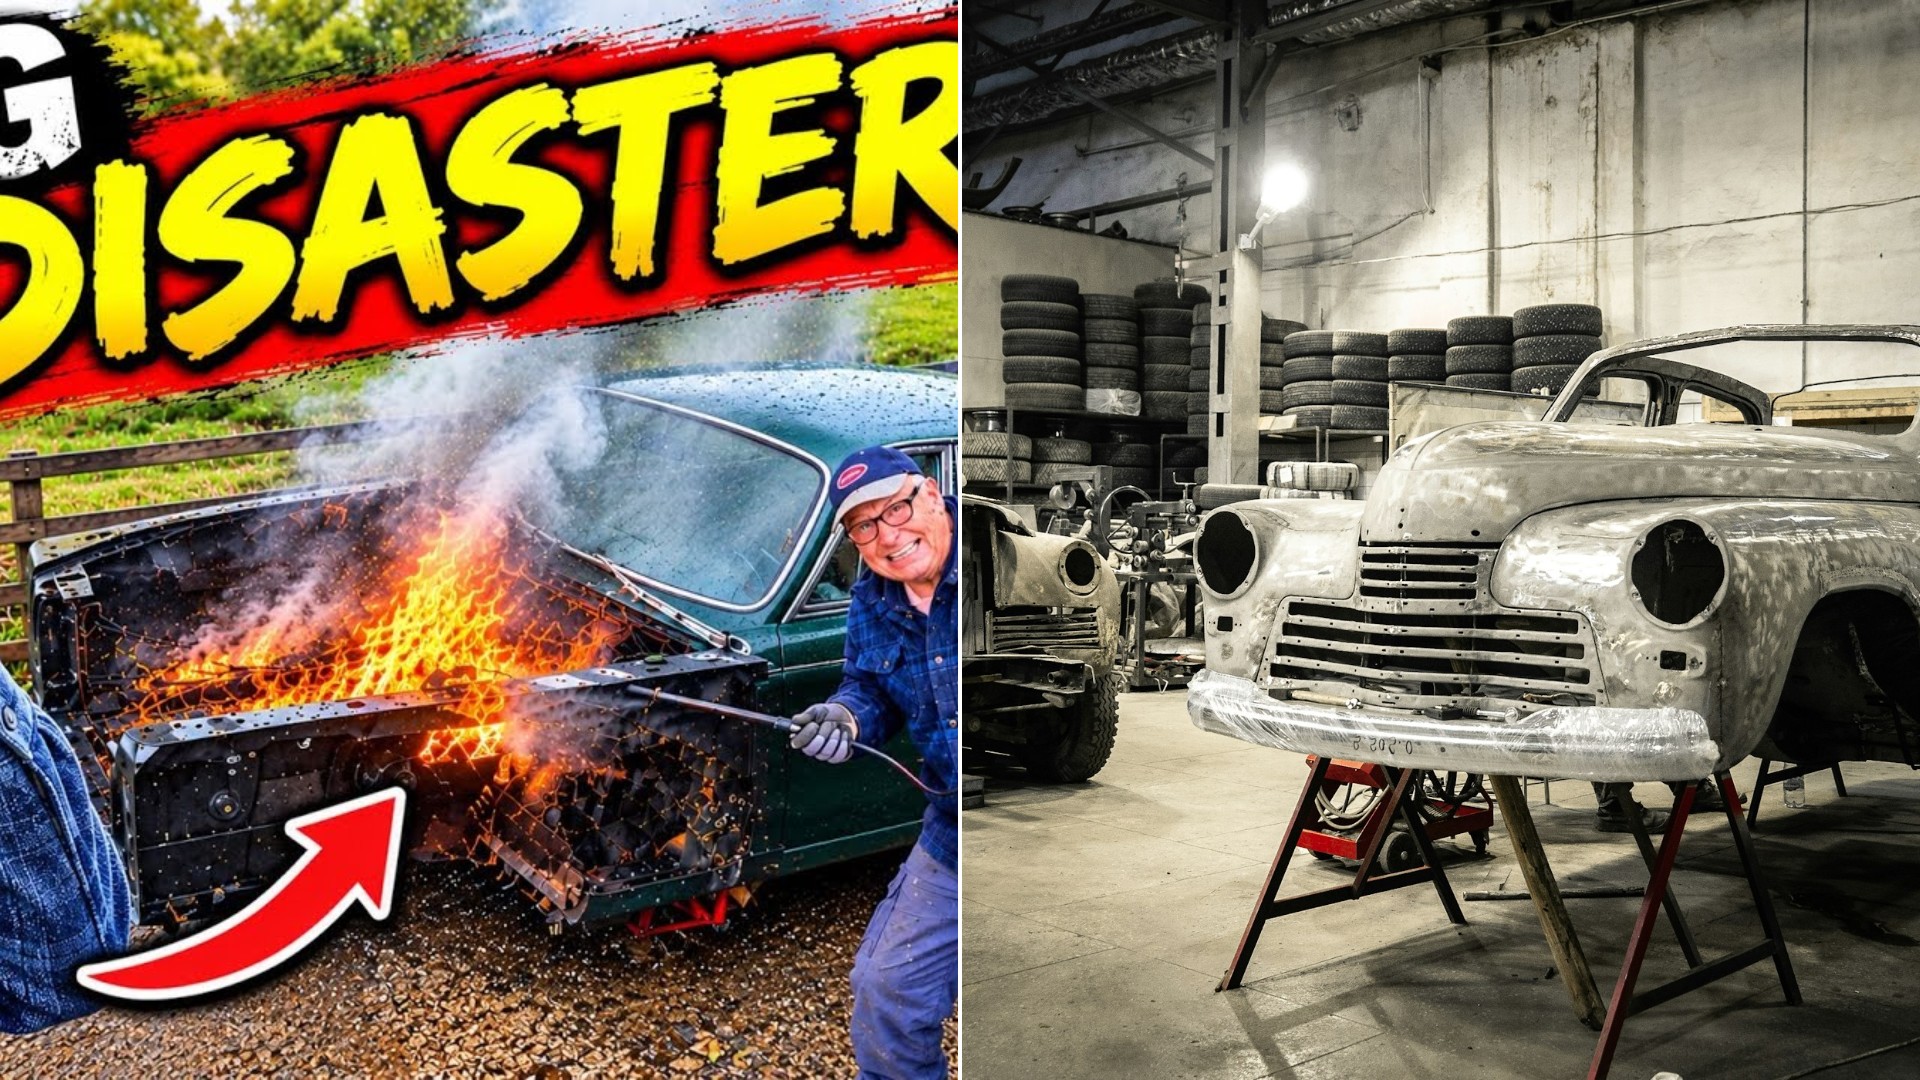
The builder, working with his dad, explains the cause of the first problem in plain terms. Over the years, brake fluid has run out of the servo area and eaten the paint off the surrounding metal. What was left behind was a load of rusty steel. Brake fluid is hard on paint, and it is one of the reasons the area around a master cylinder and servo is worth checking on any older car.
Drilling Out the Spot Welds
To get at the damage, he drilled out the spot welds that held the original panels in place, then pulled the rotten sections out. One piece, he says, simply fell out in his hand once it was freed. That left what he calls quite the hole. Two new panels had to be made from scratch, with a corner piece that sits in the bay and a front section that goes in ahead of it. He left one solid edge in place so he could lay a nice weld along the top.
Some of this was fiddly work. One patch was tricky because of the curve in the metal. His fix was to use the heat of the weld itself to shrink the thin strip along the top, pulling it up and around into a curve, then tapping it down and moving the welds around until the shape came right. He also made patches at the ends of the chassis legs, the ones that hold the bonnet hinges, and plates where the sills meet the chassis. Everything was cleaned back to bare metal and treated with rust cure before welding.
Tidying the Engine Bay
While the metal was open, the pair decided to make the engine bay neat. The plan is a flush, clean compartment, so they welded up the many small holes in the inner arches that once held grommets and plastic buttons. Bigger holes got round plates cut from sheet steel, and smaller ones were filled with a weld, using a piece of copper held behind the hole because weld does not stick to copper. Wiring will be routed through a channel behind the wings and along the top of the chassis legs so it stays out of sight.
One cut was right next to the driver’s footwell, where a little vent connects to a lever inside the cabin that brings in fresh air. The builder stripped the interior, taped everything off to protect it, and vacuumed the grindings out before patching. He admits that, in his words, it was rotten in there.
The Paint Went On, Then Came Off
After days of sanding and wax-and-grease removal, the bay looked brilliant. He sprayed an epoxy primer, a four-to-one mix with hardener and then 25% thinners. A day later, he added a coat of high build primer, and everything looked fine. Then he took the cover sheet off the car on Friday and found the paint had lifted off the body. Underneath the filler primer, it was the epoxy primer that had come away, with bare metal showing in the gaps. In plain terms, the epoxy had not stuck to the steel.
The team could not hide how they felt. Phrases like big, big disaster and what a pain were thrown around, and they sat down for a drink to settle their nerves. The metalwork was done, but now they had to go back several stages. They said they found the problem and promised to explain it in the next video, so we will not guess at the cause here. They also mentioned that the weather had turned cold and wet, and that they needed to clear the garage so the car could be brought inside.
Lessons for Your Own Restoration
Whatever caused this particular failure, there are some good general habits from this build.
- Check around the brake servo and master cylinder. Leaking fluid strips paint, and rust follows.
- Treat bare metal right away. Clean it back, apply rust treatment, and seal it before it flashes over again.
- Follow the manufacturer’s directions on any primer. Surface prep, mixing ratios, thinners, and the time window for recoating all matter.
- Watch the weather. Cold, damp air is not your friend when you are painting, and working indoors helps.
- Test your system on a small area. Let a patch cure and check adhesion before you coat the whole bay.
- Use copper backing when welding small holes. It keeps the weld from falling through and sticking.
The builder also answered a viewer comment about weld-through primer. He said he does not find it works very well, and that he has been painting the back of panels and cleaning the paint off only where the plug welds go, since the heat burns it off either way. He agreed to try some. That kind of open exchange with viewers is part of what makes this channel feel like a visit to a friend’s garage.
For anyone dreaming of a restoration, it is a reminder that the work is never quite done when you think it is. Metal can be fixed, and so can paint. It just takes patience, a few cold days, and maybe a stiff drink.
More Stories You May Like
- Driver Pulled Over for Texting Handed the Officer What He Thought Was His Registration and It Turned Out to Be an Old Unpaid Ticket
- That Cheap Classic Car Project Can Turn Into A Rust Bucket That Costs More To Restore Than It Will Ever Be Worth, So Budget The Real Cost Of Bodywork Before You Buy
- Tesla Model Y Owner Drove Around With a Buckled Dented Panel for Two Years Before Finally Calling a Repair Man and Hears Why the Fix Will Not Look Perfect